")

Add me in Wookraft Broadcast
Get New Releases & Updates info

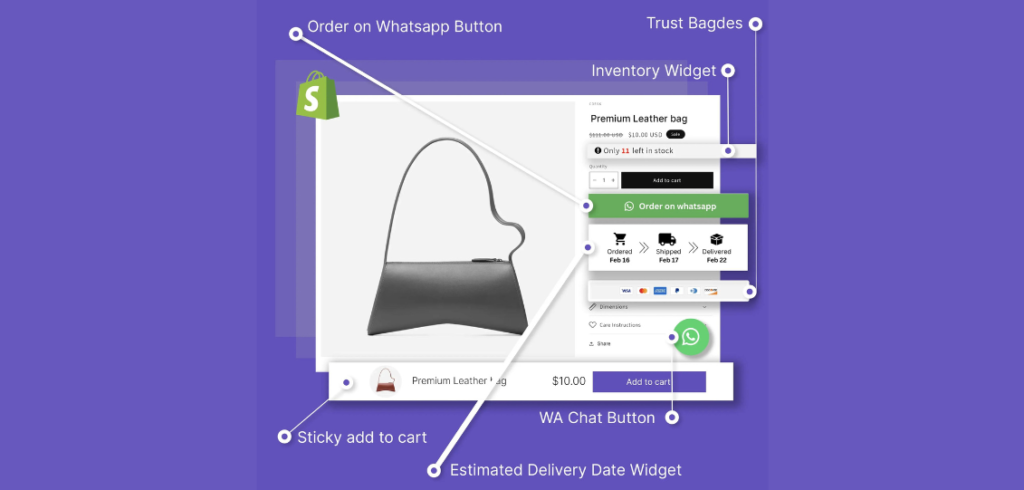
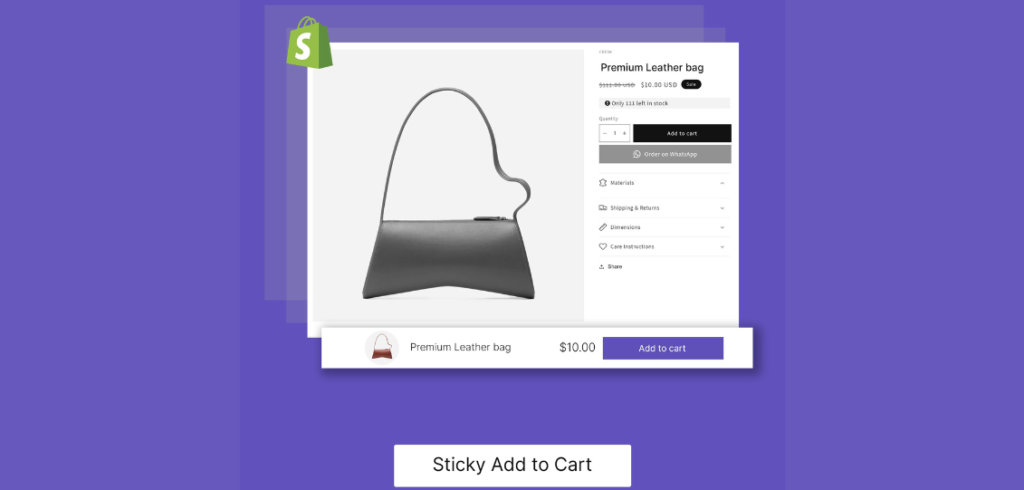
Encourages customers to act quickly: Seeing a low quantity warning on a product page may encourage customers to act quickly and make a purchase before the product runs out. This can be especially useful for limited edition products or items that are popular and in high demand.
Increases the perceived value of the product: When customers see that a product has a limited quantity available, it can increase the perceived value and exclusivity of the product. This can lead to increased sales and customer loyalty.
Increases customer satisfaction: By letting customers know about low quantities in advance, it allows them to make informed purchasing decisions and avoid disappointment if the product runs out before they have a chance to buy it. This can lead to increased customer satisfaction and loyalty.
Only logged in customers who have purchased this product may leave a review.
₹499
Coupon Code : WOO20
Get New Releases & Updates info
Earn 40% on each purchases made by new customers you refer to WooKraft.
If you have already purchased/downloaded the plugin file from wookraft.com, you can upload it manually by following these steps:
Installing a new theme in WordPress is also a simple process. Here are the steps you can follow:
If you installed a plugin as a theme, it could also cause the “style.css not found” error. This is because plugins and themes have different file structures, and WordPress expects certain files to be in specific locations based on whether they are a plugin or a theme.
Our Membership
Reviews
There are no reviews yet.